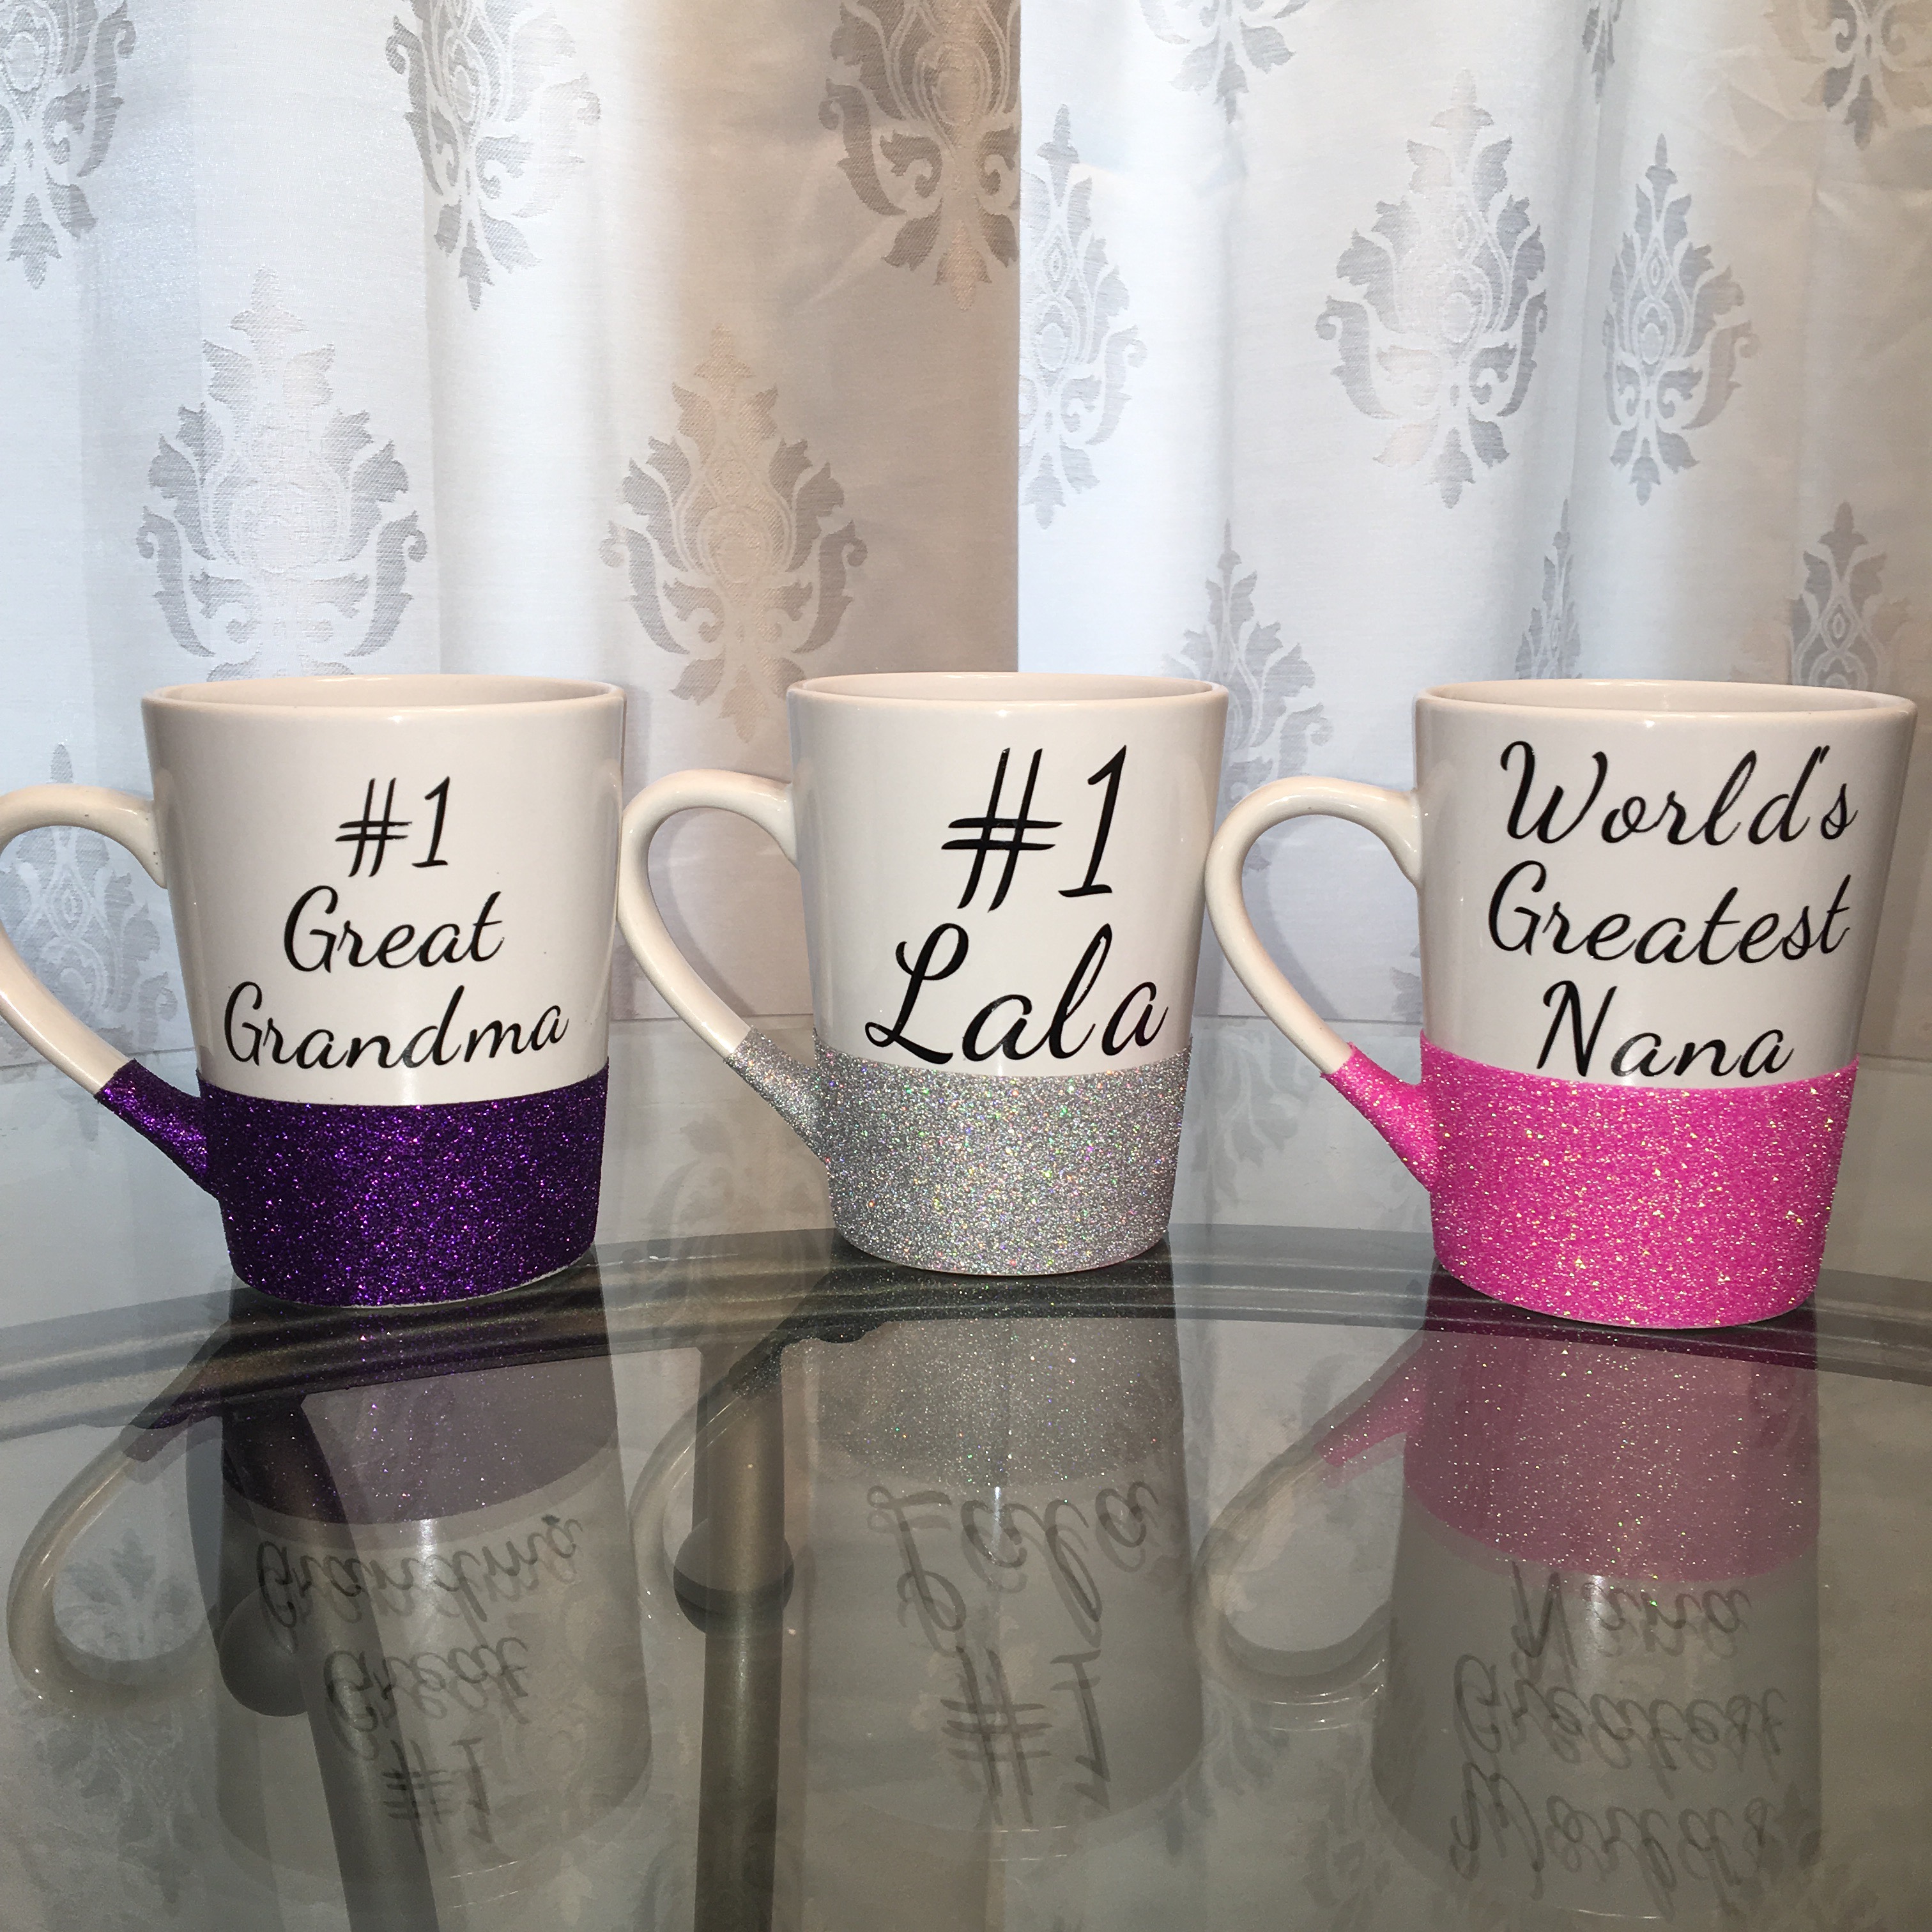
There are a lot of different materials used to make glitter mugs. These are the materials and steps I used to make them and haven’t had an issue. I chose these because they were common supplies I would use again so I wasn’t spending on supplies I would only use for one project. These are a lot easier than I thought they would be but pretty messy. 🙂
 Supplies:
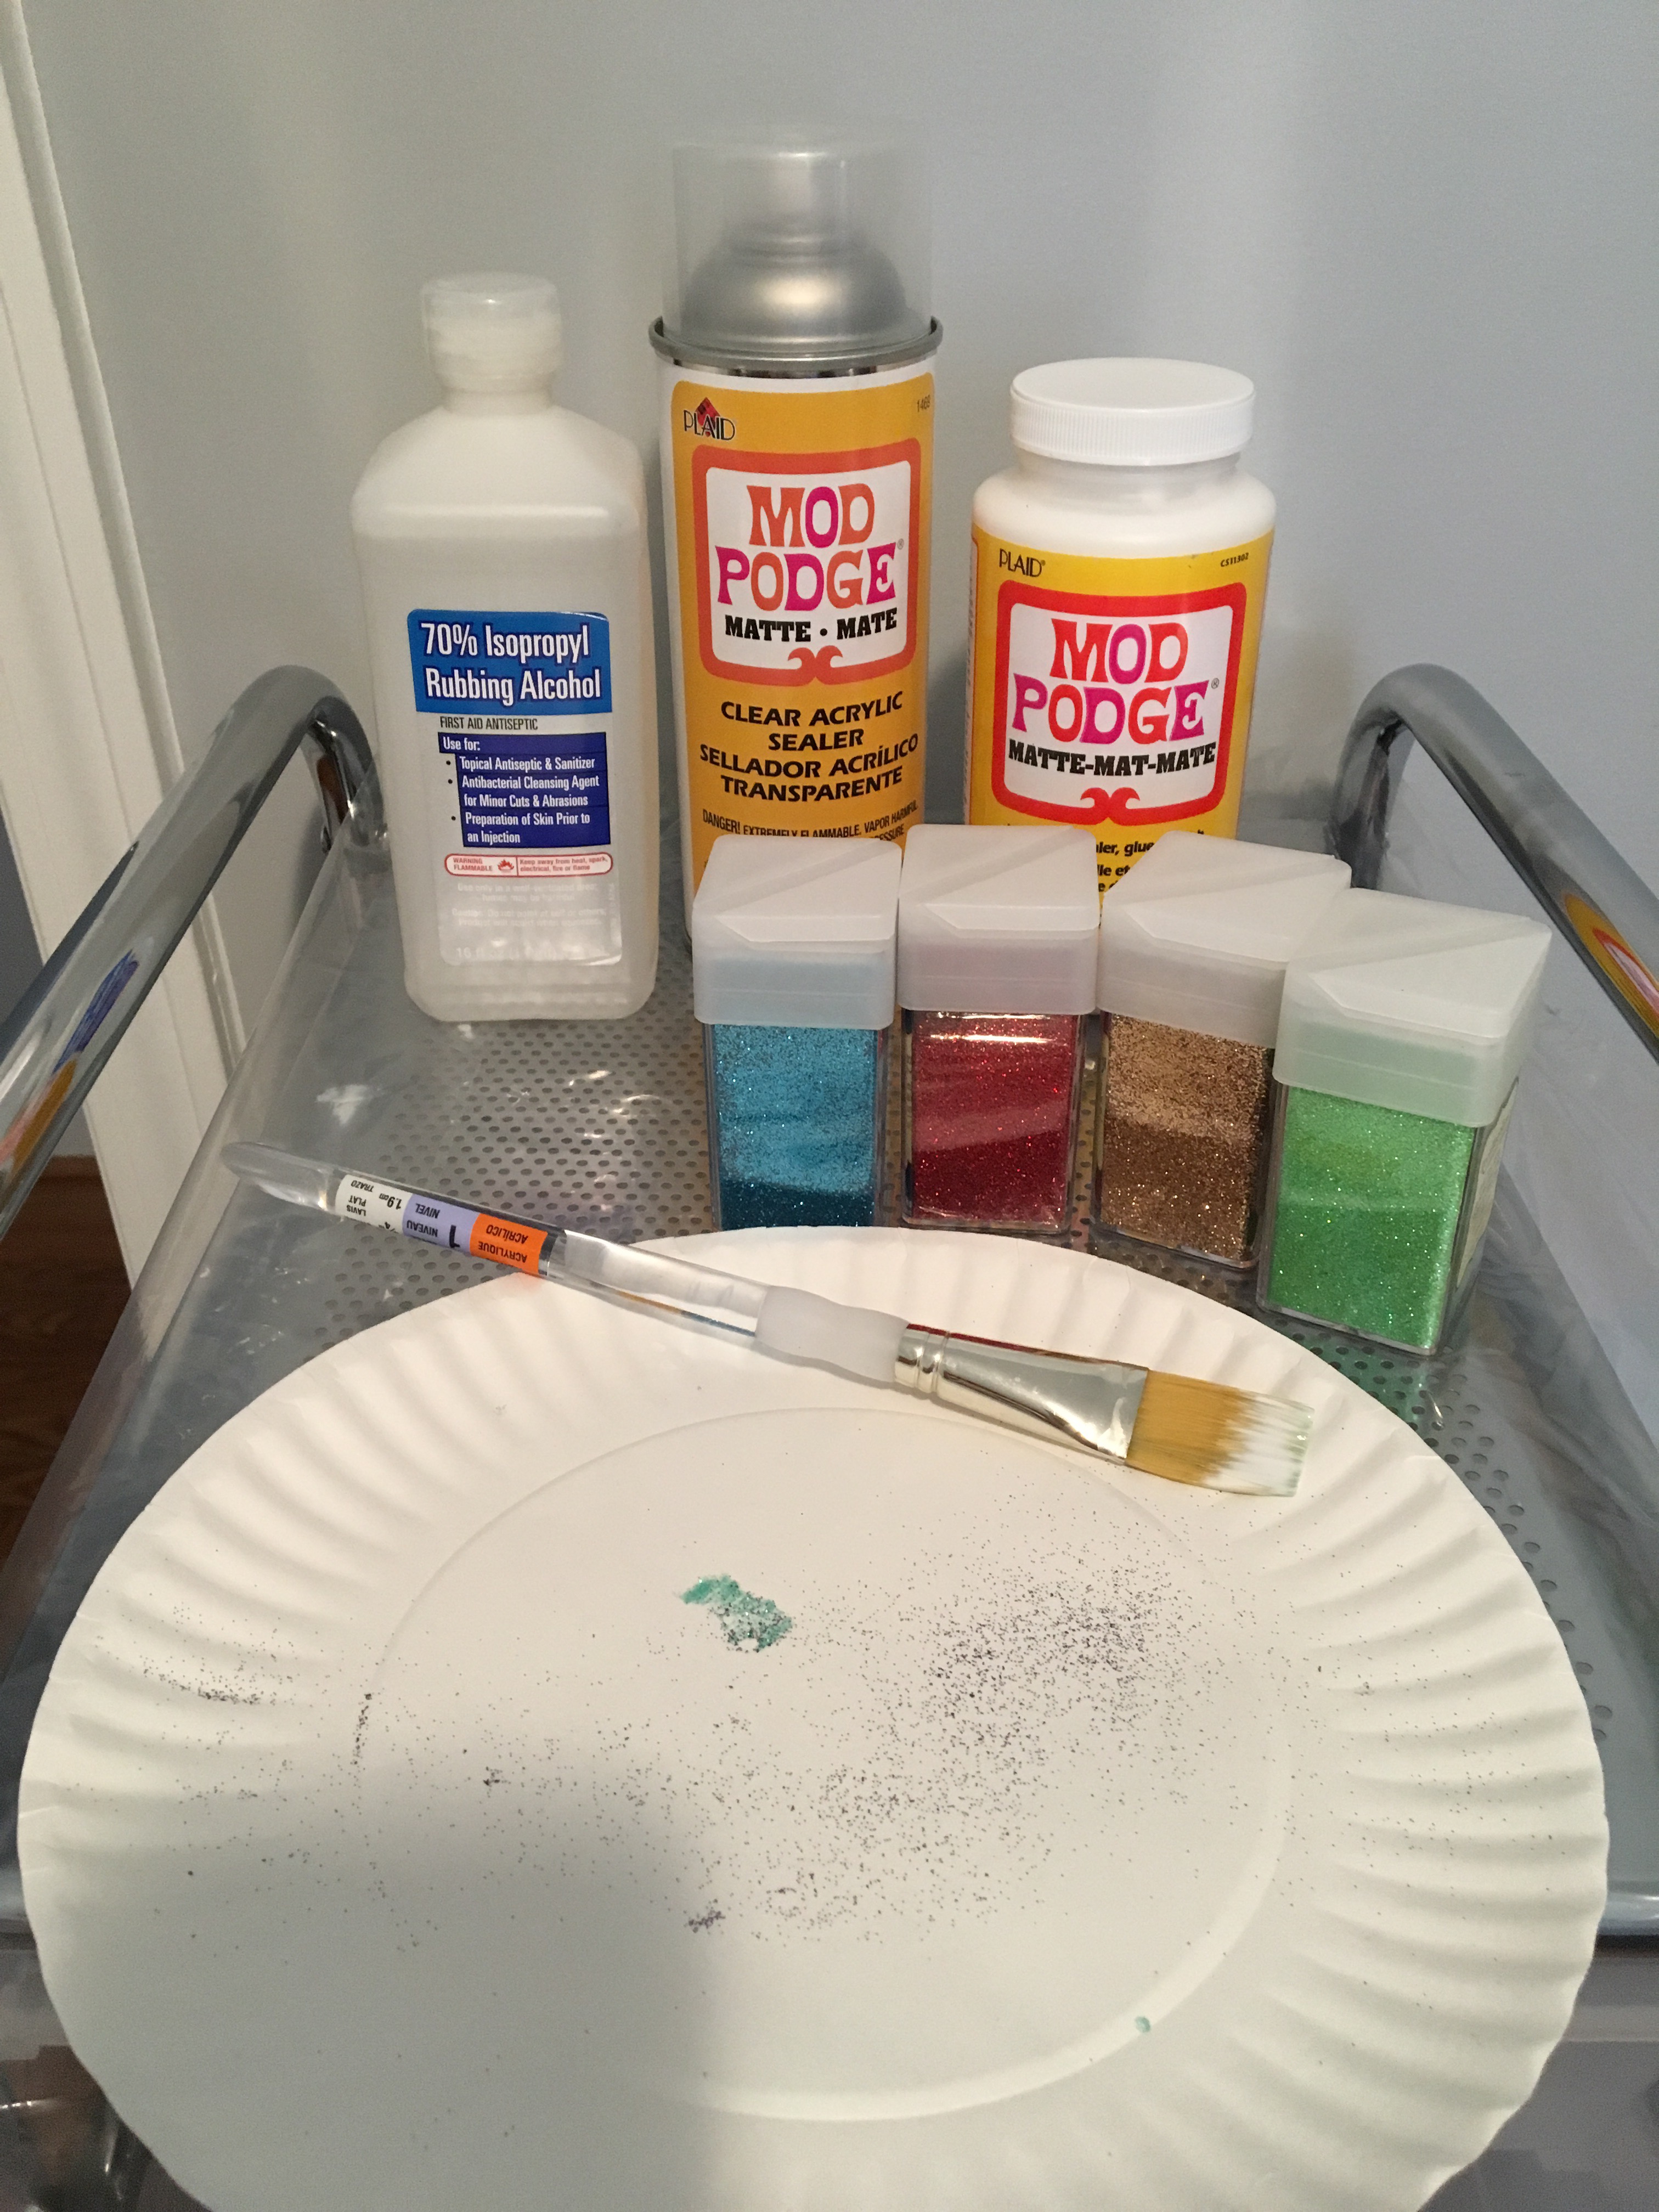
- Mugs
- Rubbing Alcohol
- Sharpie or Outdoor/Permanent Vinyl
- Electrical Tape
- Paper plate
- Mod Podge
- Paintbrush
- Glitter (extra fine works best)
- Mod Podge Clear Acrylic Sealer
Directions:
- Wipe mugs off with rubbing alcohol. (This helps the vinyl and glitter to stick on easier.)
- If you are doing a name on the mug with a Sharpie, stencil or write the name on where you want it. Bake in the oven on 325 degrees for 15 minutes to set the ink into the mug. (Make sure this is done before doing the glitter.) If you are putting the name in vinyl you can do that before or after. I prefer after so I can see where I want it once the glitter is done.
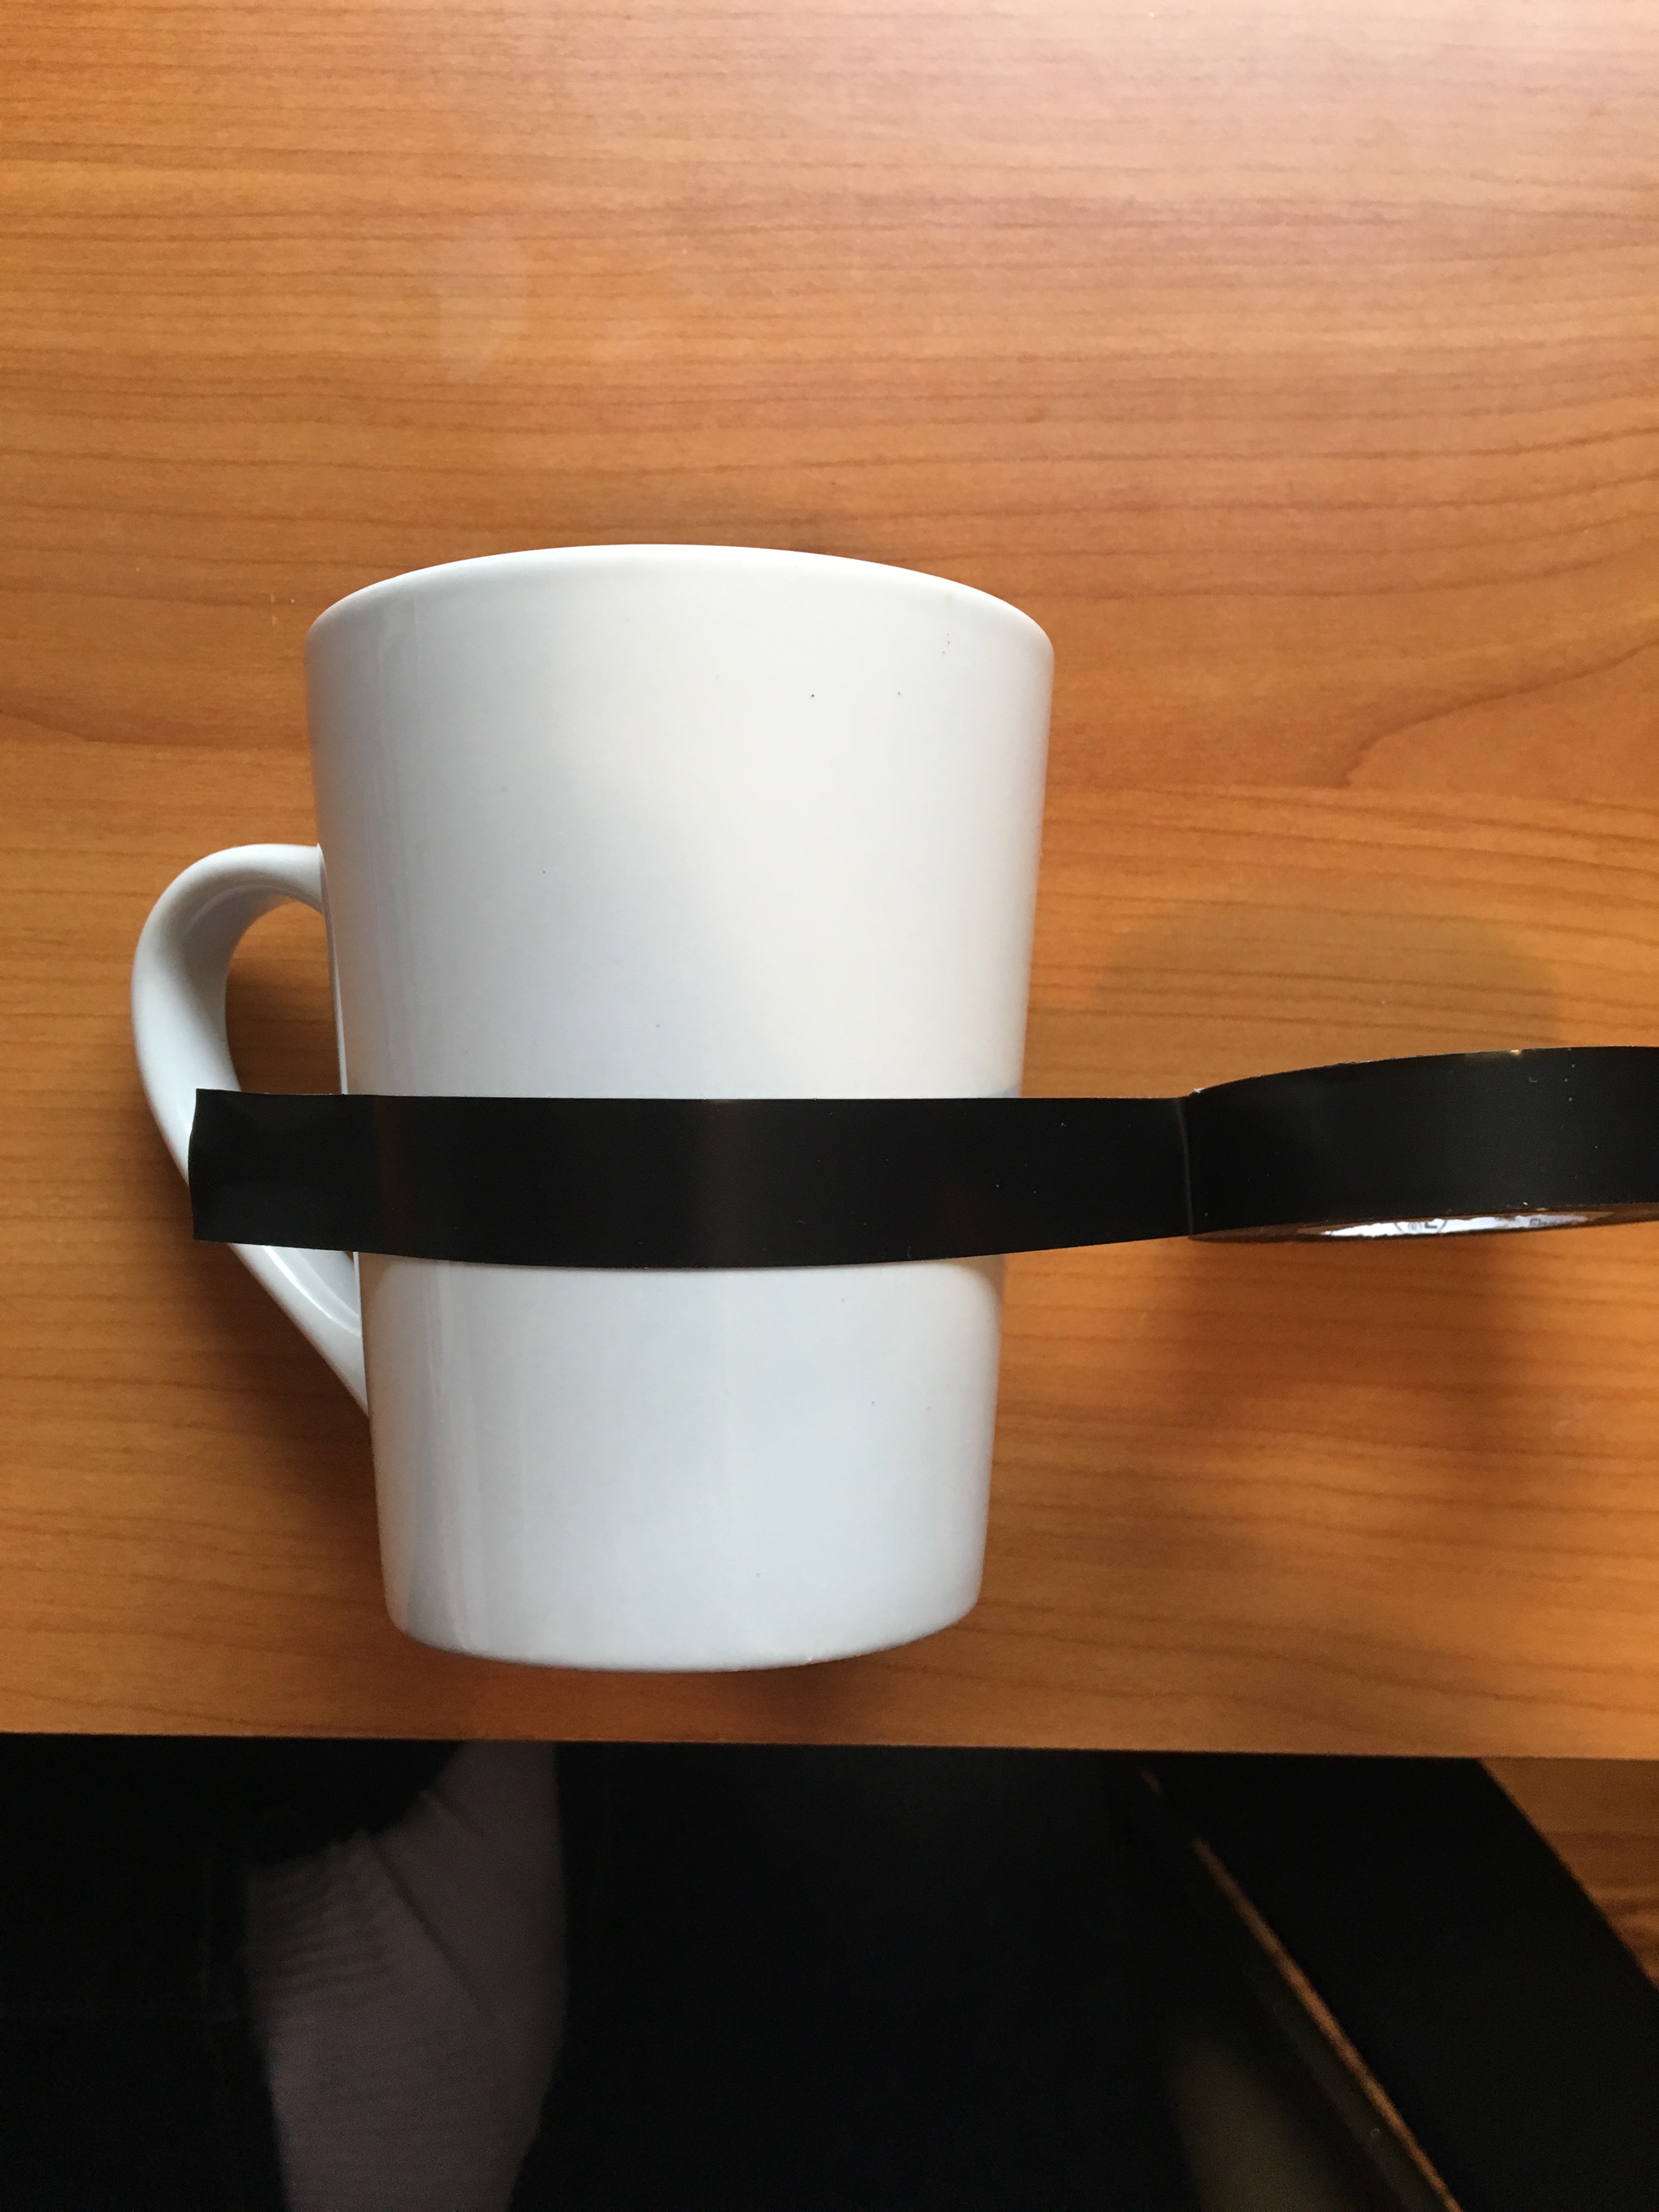
- Using the electrical tape, tape off a straight line.
Tip: I think it helps to get a straight line by pulling a long piece and sticking the middle of it and then wrap the two side around. To help get the handle even, look straight on from the handle and also stick from the middle and wrap around. Do a thin even layer of mod podge along the whole bottom of the mug. try and get the bottom of the handle as best as possible. That is my hardest area since it not flat I sometimes miss a spot.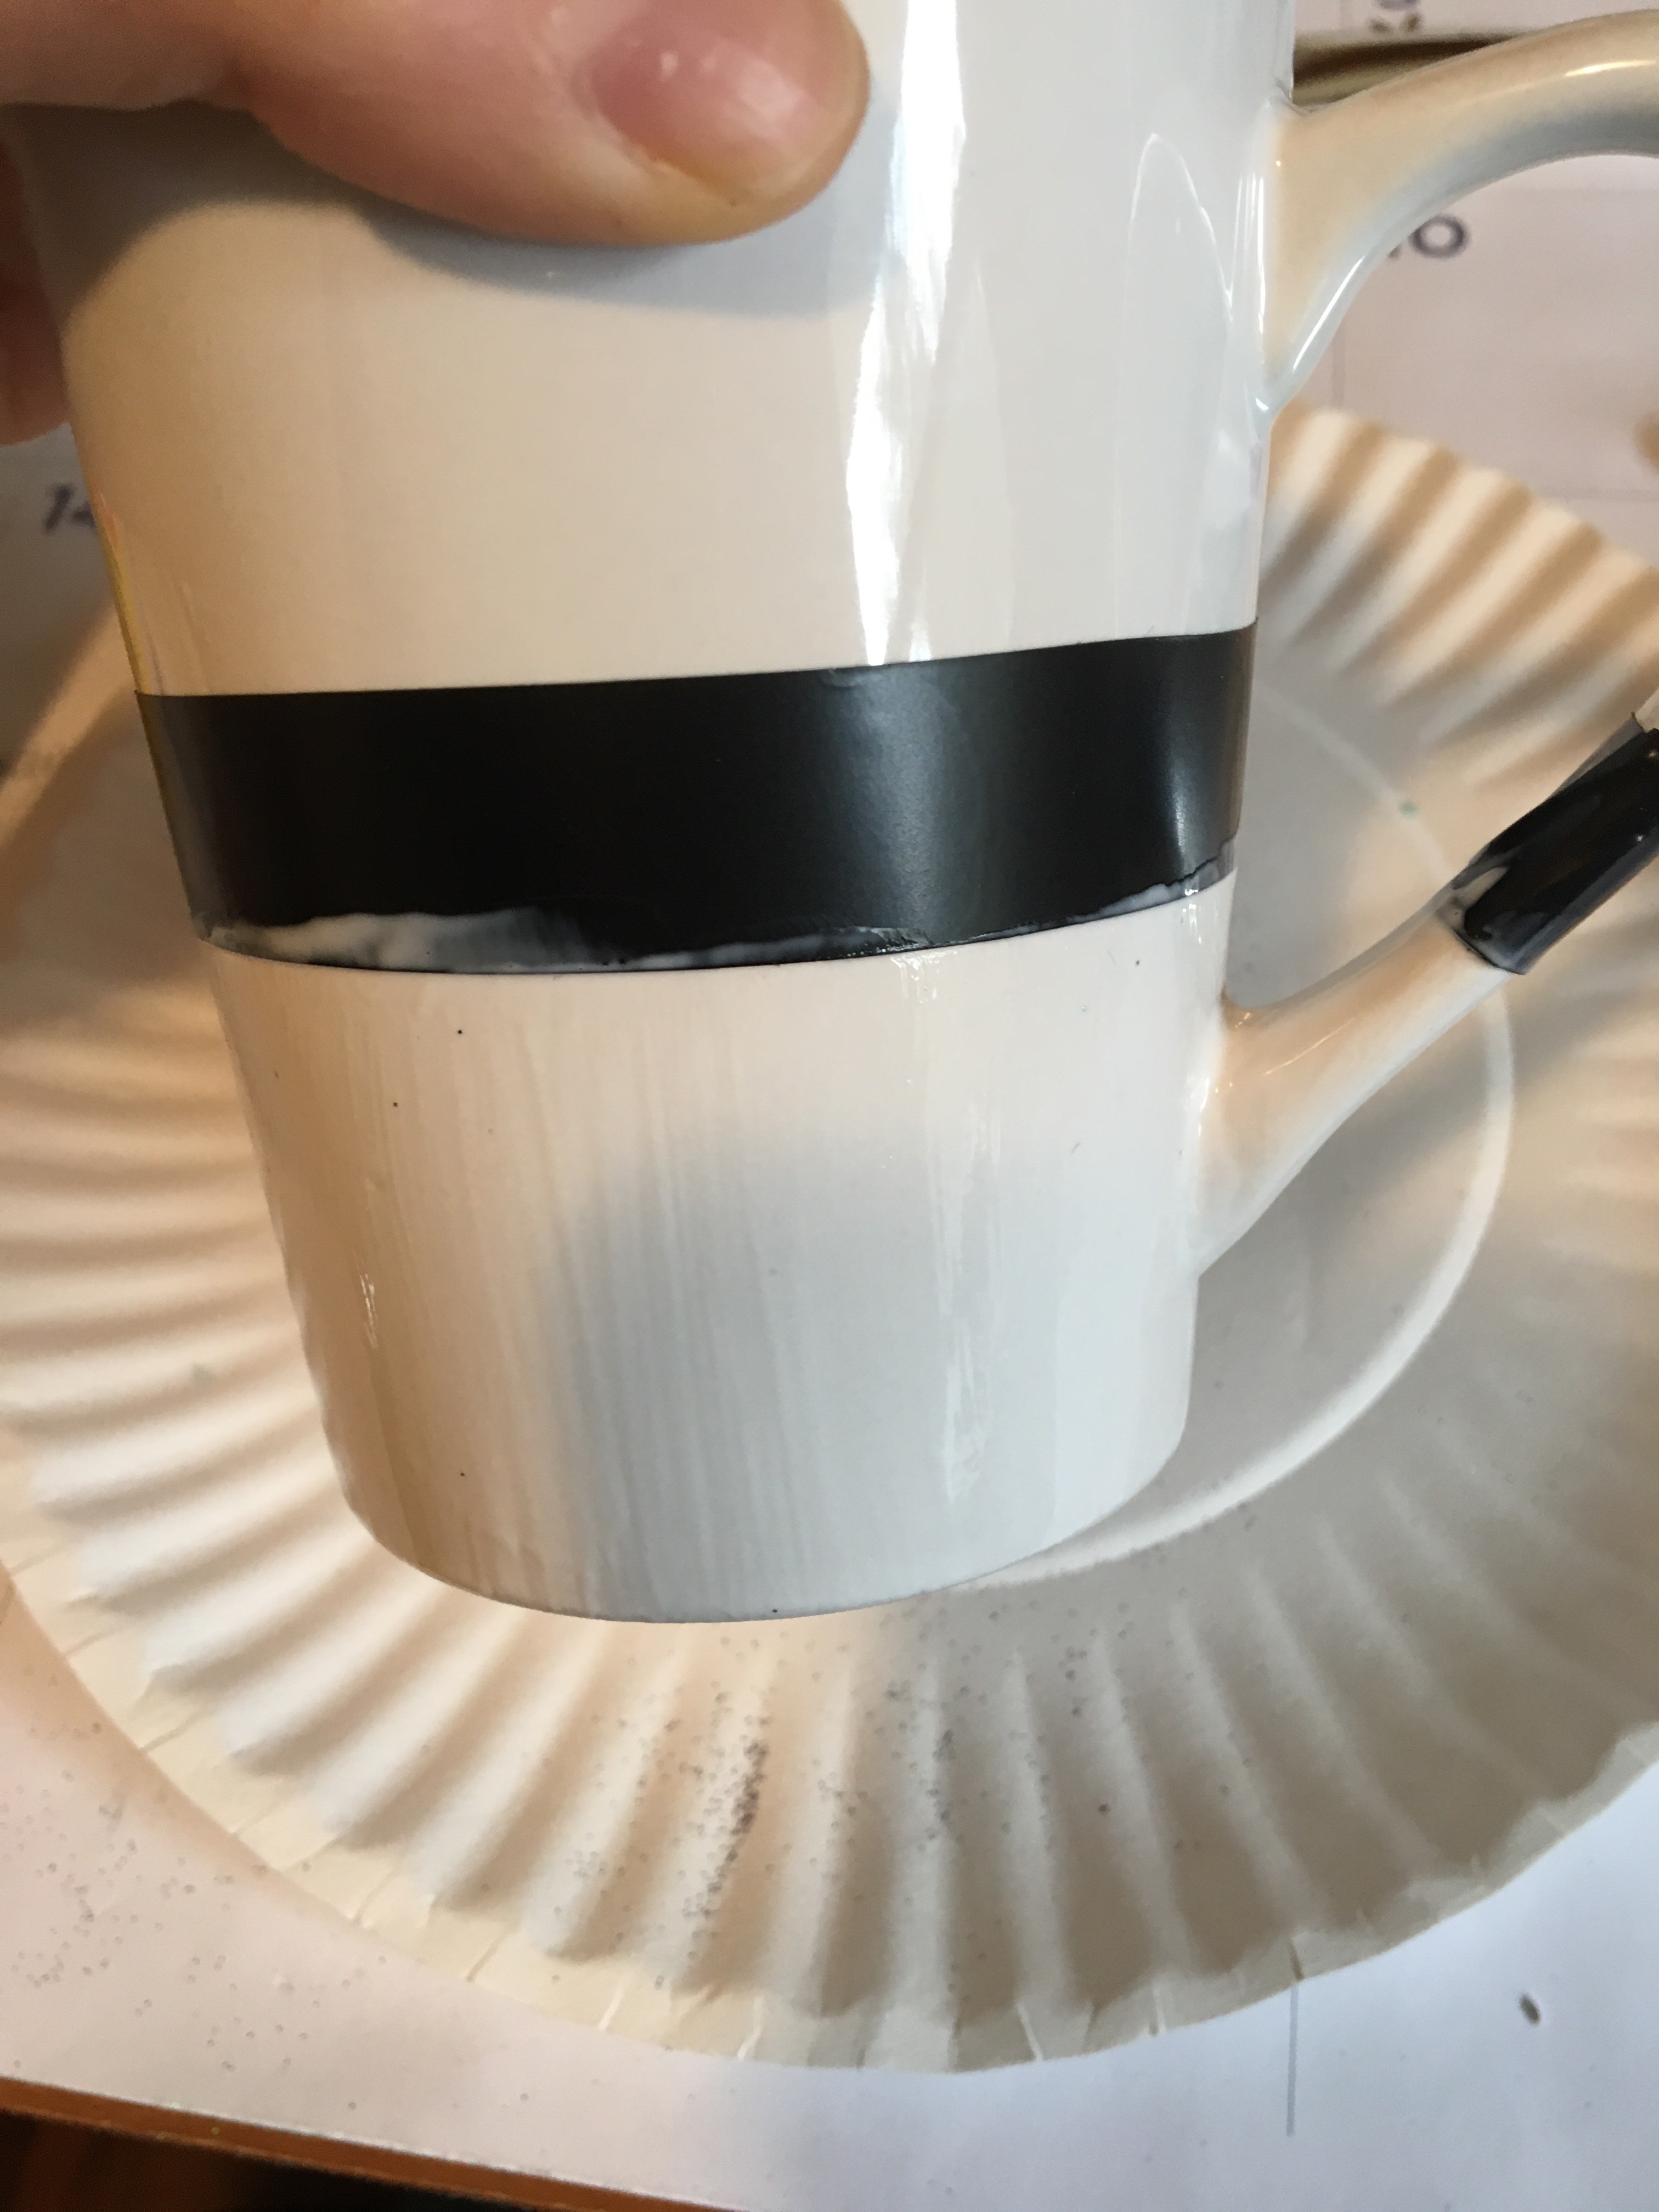
4. Do a thin even layer of mod podge along the whole bottom of the mug. try and get the bottom of the handle as best as possible. That is my hardest area since it not flat I sometimes miss a spot.
Tip: Try to do it as thin as possible. It might need multiple layers to get it all even and the thinner the layers will prevent it from being thick and peeling off easy.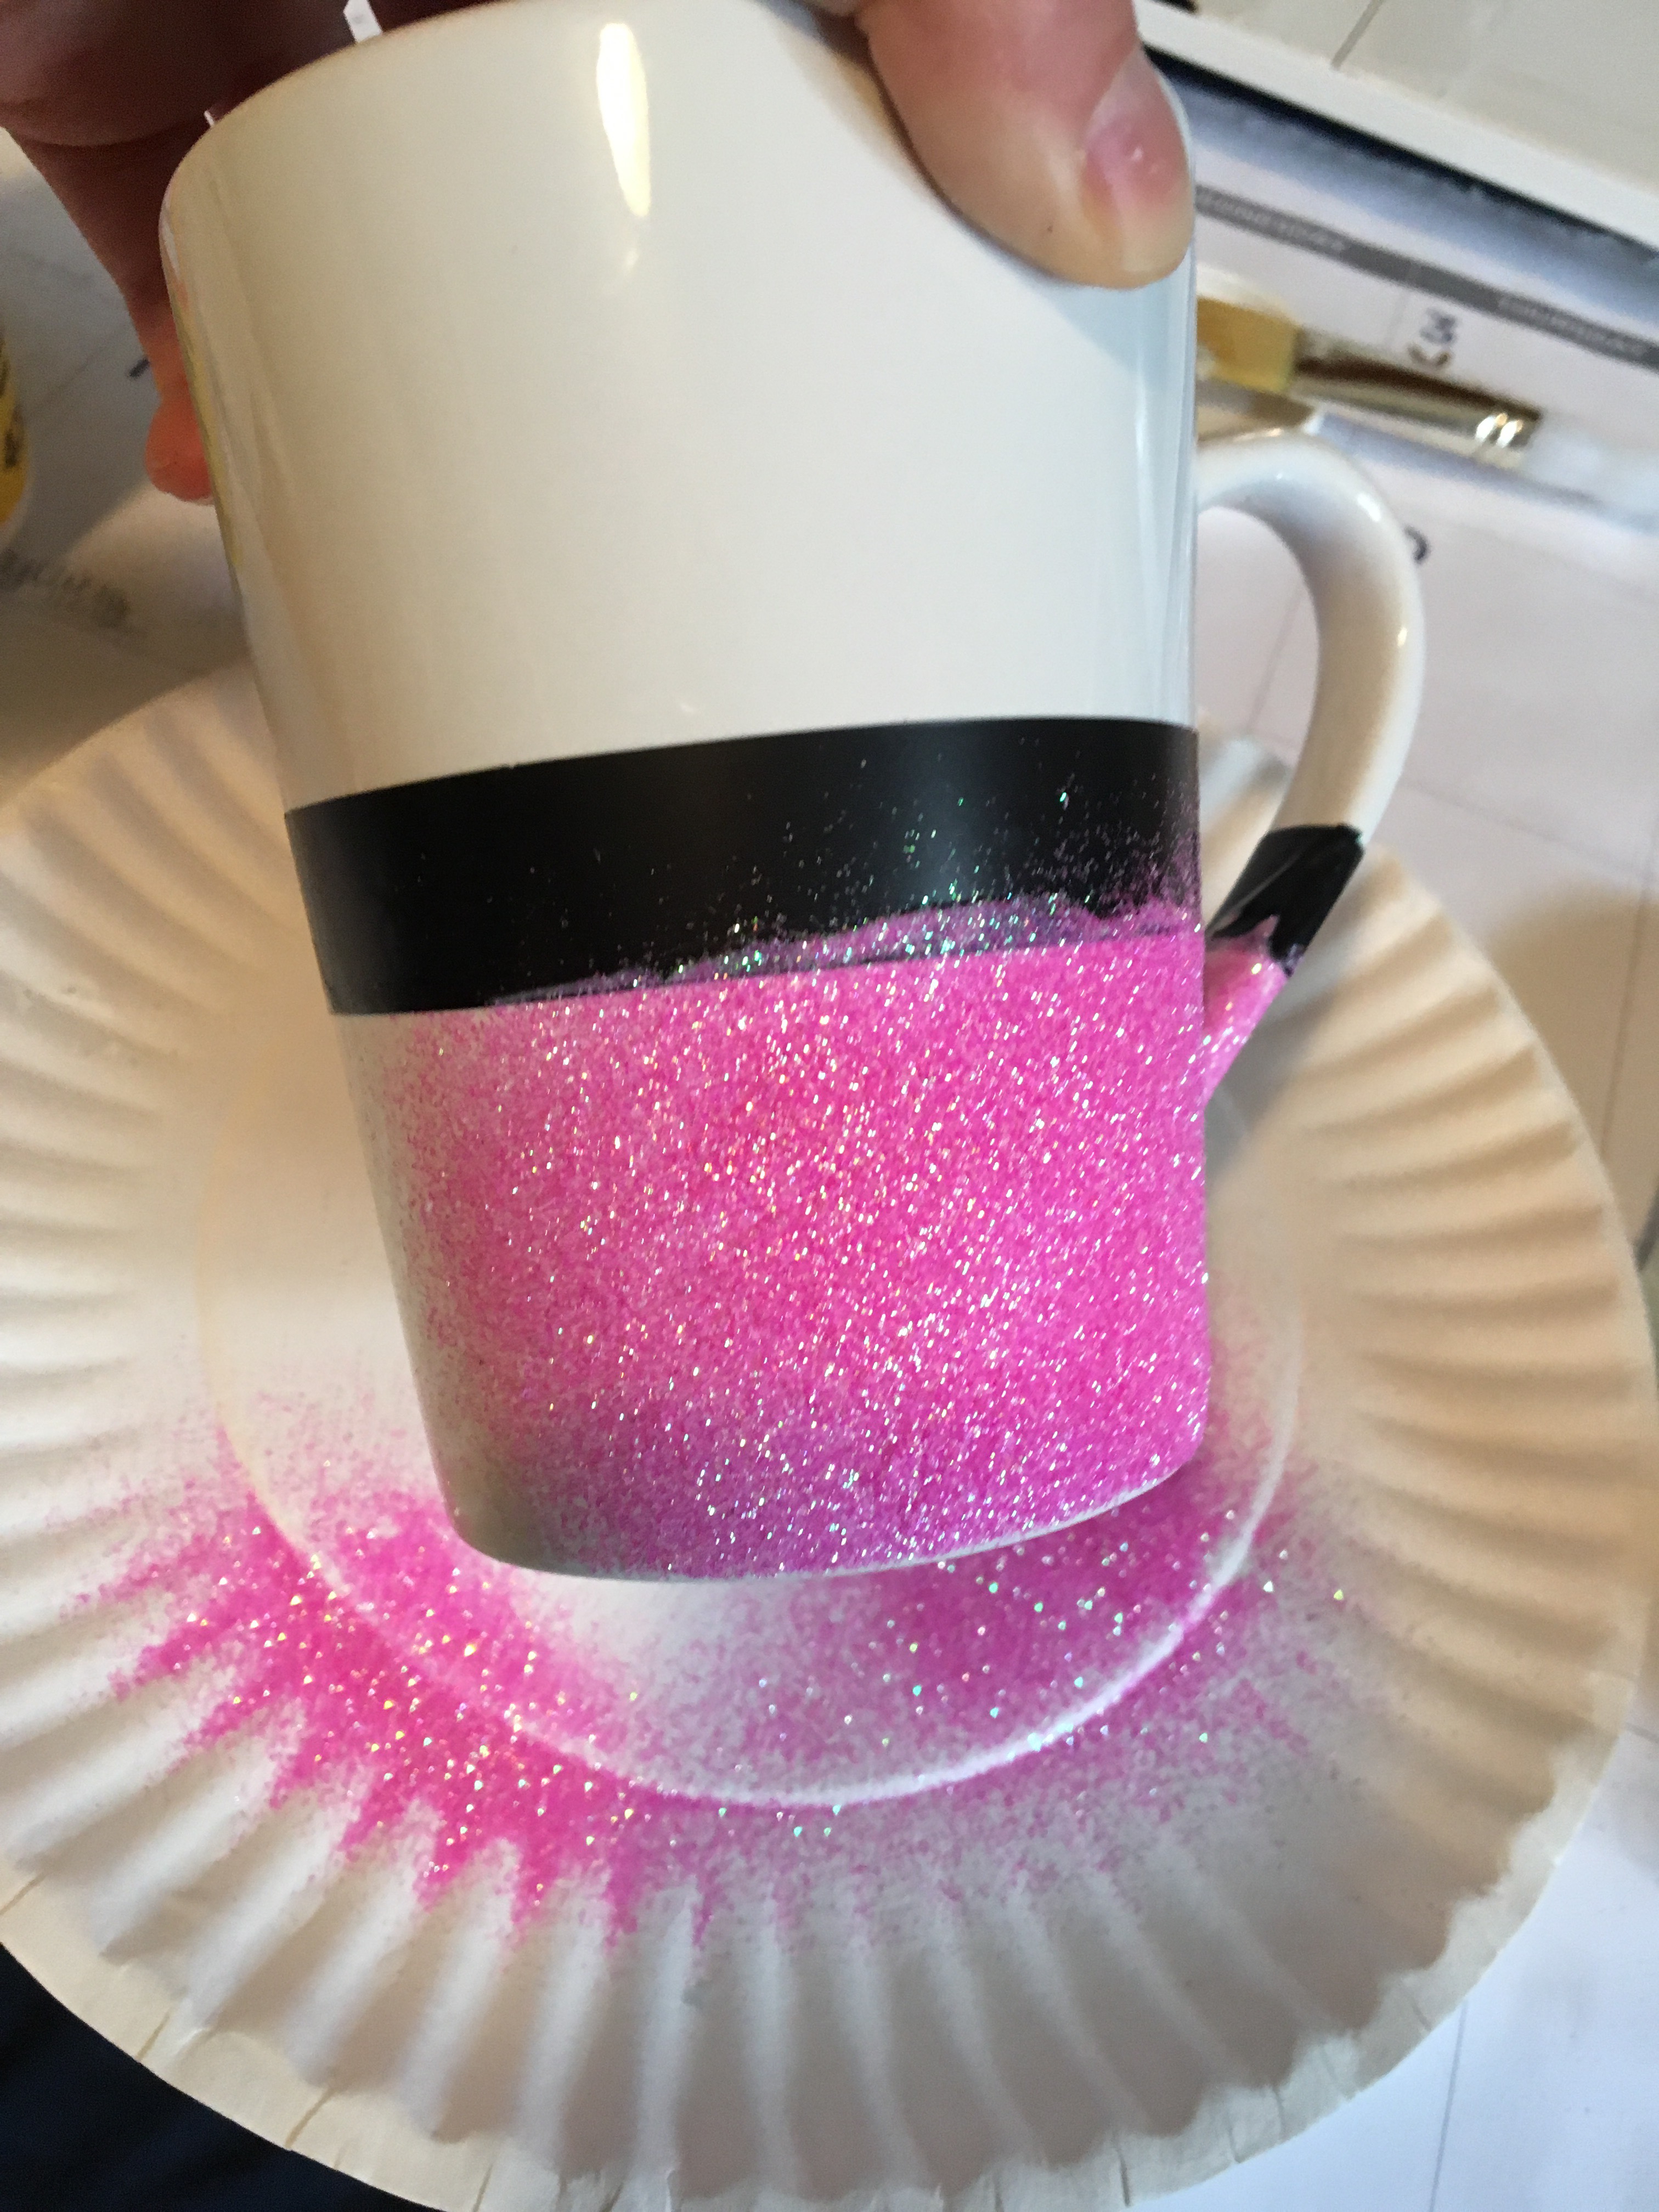
5. Evenly sprinkle glitter all over the bottom of the mug. Tap mug lightly on the counter top to knock off the extra. You can fold the paper plate and dump the rest of the glitter that didn’t stick back in the container to save it.
Tip: If you missed a spot leave it and do it thicker in that spot with the next layer.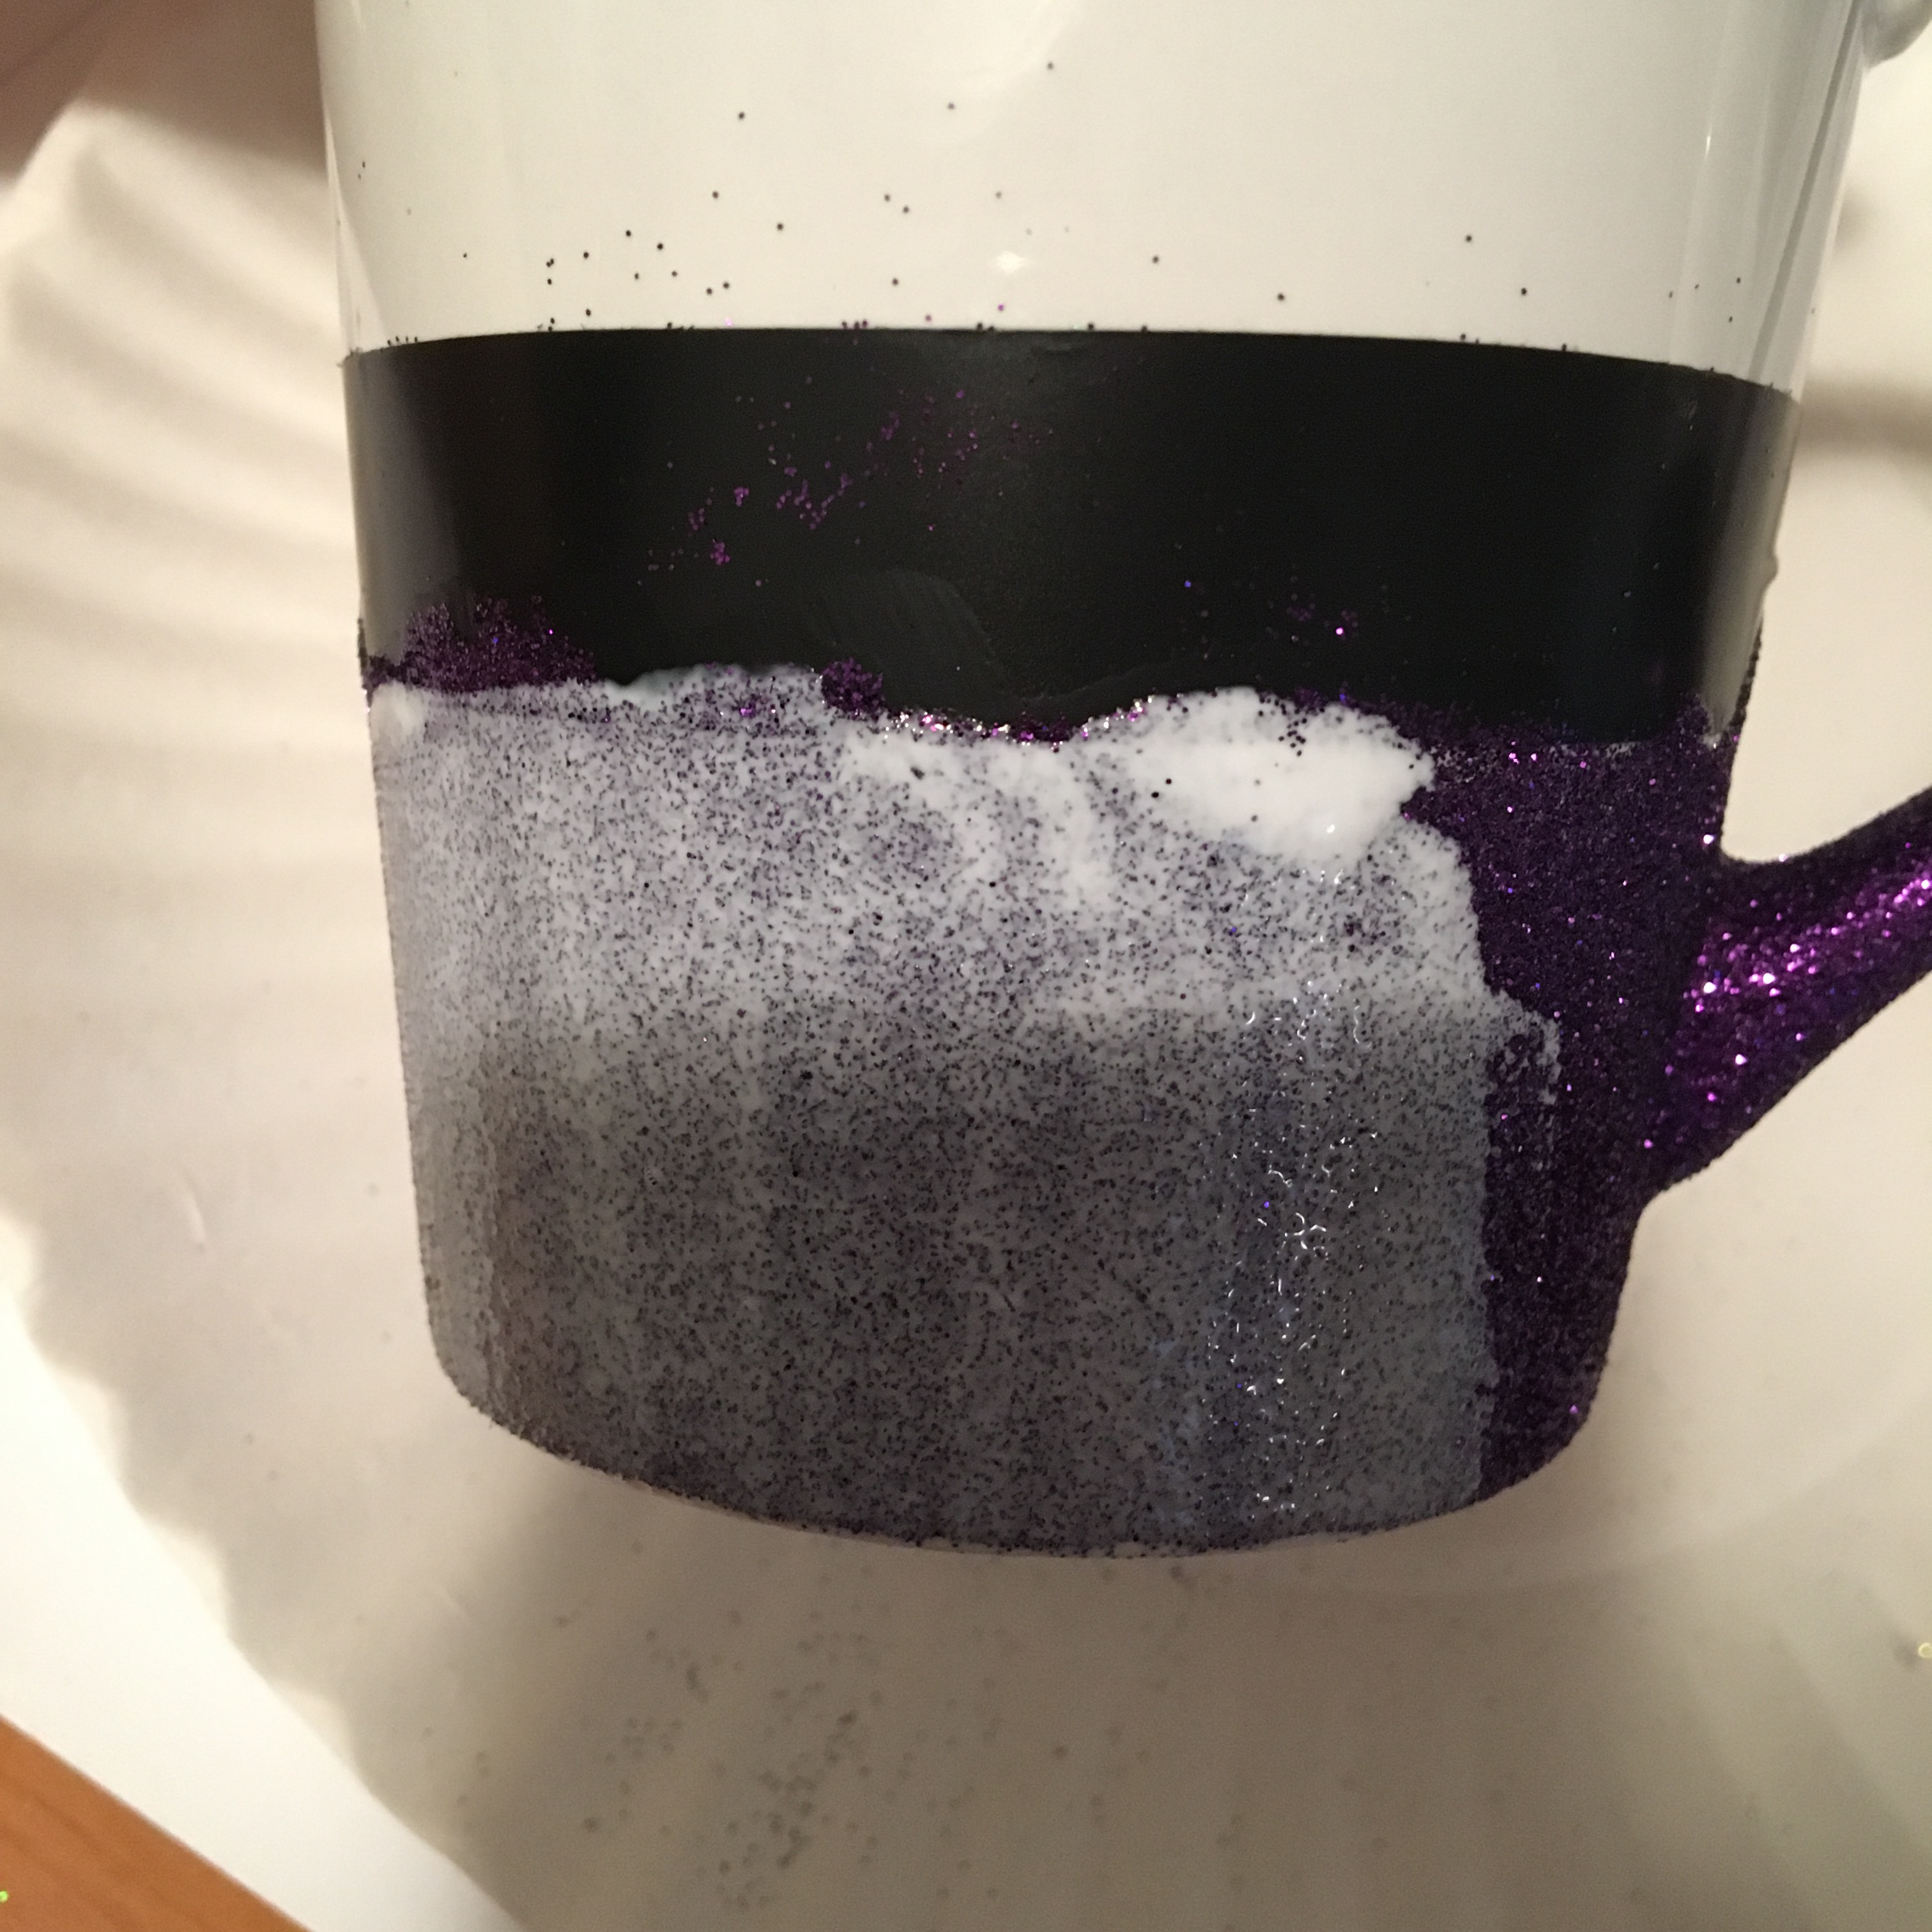
6. Let the mod podge dry for at least 5 hours, but the longer the better.
7. Do another layer the same way, up to 3, if needed. You wouldn’t want to do more than that so that it doesn’t peel or break off easy. Let sit another 5 hours.
8. Lightly dust off the extra that didn’t stick from the last layer with the paint brush. Shake the can of sealer for 1 minute. I usually do only about 30 seconds but the can suggests 1 minute. Lightly spray the glittered area. Let sit 15 minutes and lightly spray again. I peel the electrical tape off right after I spray the second coat and then let dry 15 more minutes.
Note: Handwash only. There is a dishwasher safe mod podge (only 5.47 on amazon), but it takes close to 30 days to set and actually be dishwasher safe. If you have the time to let it sit 30 days then I would use that.
Happy Crafting 🙂

I normally use painters tape, but will be switching to electrical tape. The issue I’m having is I’m getting mod podge and glitter on the tape and when I peel it off, it takes some of the glitter and the line is no longer straight. How can I rectify that error? Any suggestions would be greatly appreciated.
Did you try the electrical tape yet? Every time I have done it with electrical tape, it has peeled off in a straight line. I would also suggest letting it dry longer if you are peeling it off too early. Another thing might be that your mod podge layer is too thick.