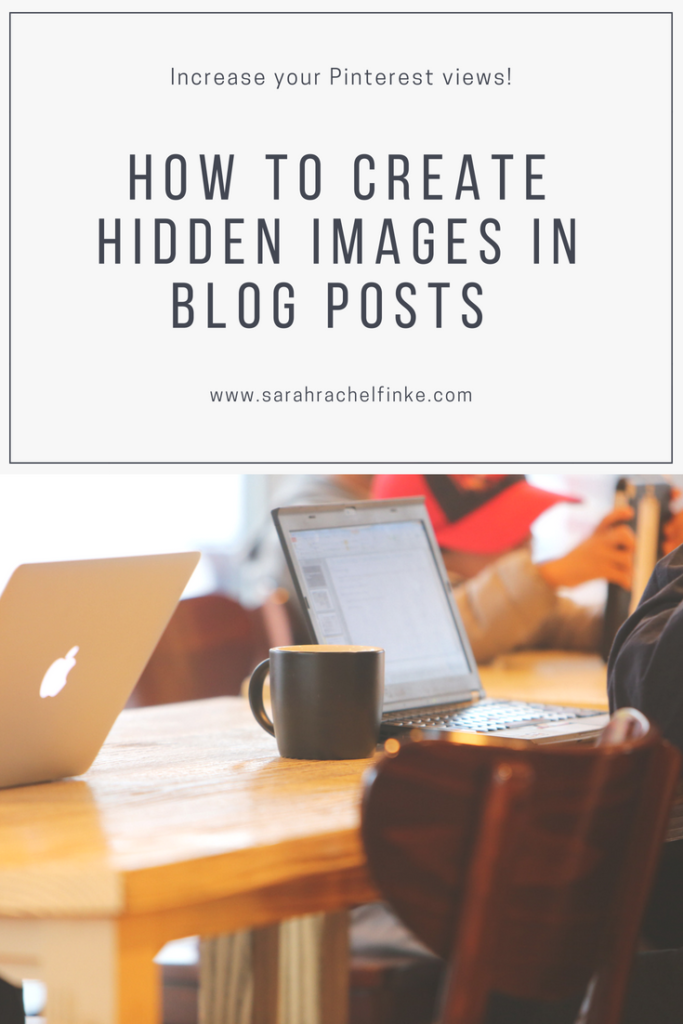
1. Create Your Images
Canva is a good tool to help you make nice looking pinnable images. Use a vertical image, because it takes up more room on Pinterest to be seen easier. Make sure your images have dimensions of at least 600 x 900 pixels so that when they are clicked and blown up they don’t get pixelated.
2. Upload Your Image

When in the blog post you want to add the images in go to the very top or very bottom (so it’s easier to find the image) and click “Add Media” on the upper right to upload your image to the Media Library. On the right side make sure to add a title of yo
ur image, Alt Text, and change the size. I always just include the name of my blog post as the title. The Alt Text is the description that will be seen when someone pins the image. Also, make sure full size is selected to keep your image the correct size to prevent pixelation. After all, that is done insert the image.
3. Switch to Text View
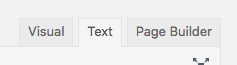
4. Insert the Code
Find your image. If you posted it at the very beginning or very end it should be easy to find. The Image Code should begin with in the code are different than the font in your blog it will not work, so replace the in your font style. It also woudn’t work if I had the Plugin Jetpack activated*
5. Insert Image into code
Delete the underlined area that says DELETE THIS AND PASTE IMAGE CODE HERE and paste your image code in that area.
6. Switch back to Visual
Make sure the image isn’t visible
7. Test it out
Click View Blog post. Once you are viewing the blog post from normal web browsing view Click on the Pinterest share button and make sure the image shows up.
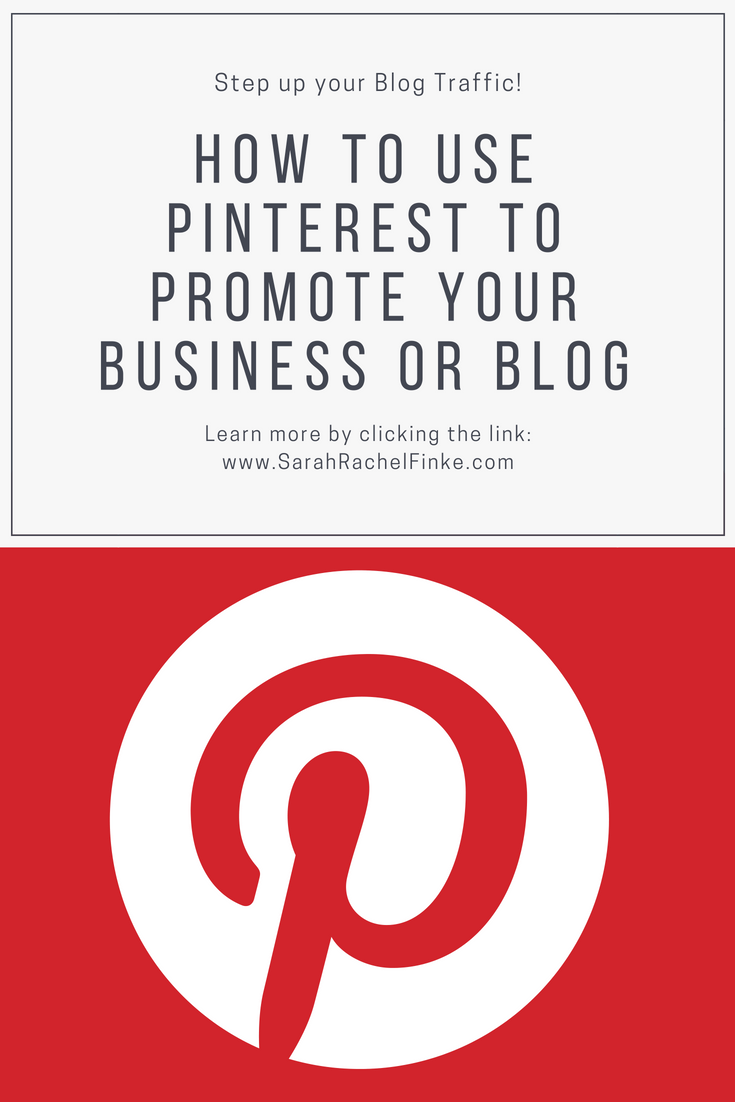
If you like this post you may also want to check out my post How to Use Pinterest to Promote your Business or Blog.